Report Builder – Filters explained

Customising your reports through filtering

This walk through explores the key elements made available to you through the Premier Contact Point report builder module. All reports accessed through the reporting module are able to be customised to individual needs and can be saved as new reports.


View video in new window


Report Builder – Creating a new report

How to create a new custom report

This walk through explores the key elements made available to you through the Premier Contact Point report builder module. All reports accessed through the reporting module are able to be customised to individual needs and can be saved as new reports.


View video in new window


Agent Desktop / Contact Manager Overview

Introduction

This article demonstrates the general functions of the Agent Desktop / Contact Manager module of the Premier Contact Point platform.

Background

Users have configurable access to the Agent Desktop / Contact Manager module. This module is used to handle voice, email, webchat, SMS and instant message interactions.

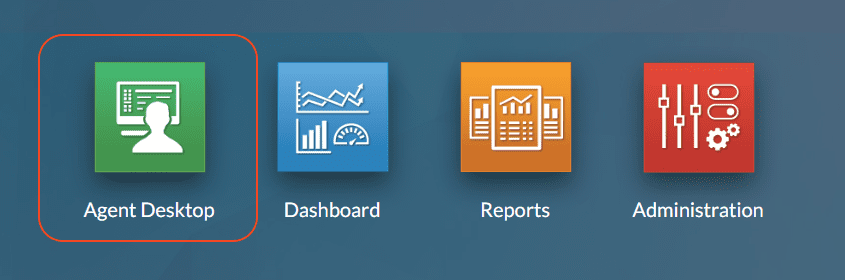
The Agent Desktop / Contact Manager module is accessible via the Premier Contact Point home screen to authorised users.
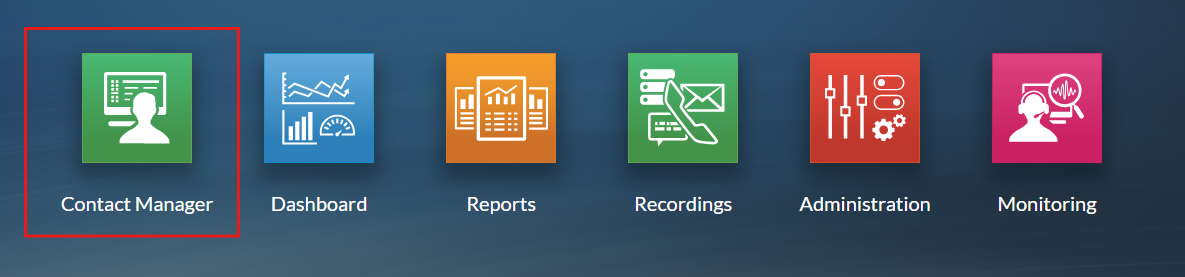
image 2


Display Elements

Session selector

The session selector allows users to activate and switch between available sessions, sessions include Voice, Email, Webchat, SMS, IM and Workflow. Each of the sessions can be activated individually and displays it’s own toolbar.

blJvWpoiAAAAAASUVORK5CYII=

Session status

The Session Status displays your current status and duration, session duration and contains the slider to activate / deactivate the session.

Status Selector

The Status Selector is used to change your status, by moving your mouse cursor over the status agents will have access to Ready profiles, Break, Aux and Disconnect options.

Selecting Break, Aux and Disconnect will generally require the user to select from a list of configured reasons to select from before moving into the status.

k2YMkudhjboAAAAASUVORK5CYII=

  • Ready Profiles – Up to ten ready profiles can be configured allowing users access to different queue configurations, in the example above a user can select Ready, Manual, Profile 3, Profile 4 or Profile 5.
  • Break – Allows users to set Break mode.
  • Aux – Allows users to set Aux mode.
  • Disconnect – Allows the user to end their session and disconnect from the Contact Manager.

Profile Menu

The Profile Menu is used to customise your user experience along with displaying other useful information to assist your session such as the Agent Assist and Dashboard panels, by clicking on your username the profile menu will be displayed.

Each of the options is explained in more detail below.

FYAAAAAElFTkSuQmCC

Settings

Settings provides access to the Layout, Contact, Sounds, Themes and Windows option.

Layout – allows the user to set horizontal or vertical toolbar alignments and a range of show / hide options for various elements of the Contact Manager including the positioning of the Agent Assist and Dashboard display (if configured).

Contact – allows the user to enable (show) the Script, Info, Customer and Notes panels via various session types.

Sounds – allows the user to enable custom audio notifications for incoming interactions per session type and setting the primary and secondary audio notifications.

e4qkpSYrCoQAAAABJRU5ErkJggg==

Themes – allows the user to set their preferred colour palette per interaction type.

aMw2KWdg3KYAAAAASUVORK5CYII=

Windows – allows the user to add additional session types, for example Email and Chat.

yXKfmgAAAAABJRU5ErkJggg==

Contact History

The Contact History provides the user with a list of recent interactions, selecting a record will display information about the interaction in the Contact Details section.

0AAAAASUVORK5CYII=

Audio Settings

Where Direct Audio is being used allows the user to set their preferred Speaker and Microphone along with options to test the audio device.

Network Performance

The Network Performance allows the user the monitor their connectivity status to Premier Contact Point over the last 20 minutes.

About

Displays the current version number of agent desktop.

View My Shifts

Where a tenancy is configured with the Workforce Management system, allows the user to view their current and upcoming rosters.

Logout (all tabs)

When selected will allow the user to logout and close all Premier Contact Point tabs. This may require the user to select a Disconnect reason.

Session toolbar

The session toolbar provides access to functions used within the selected interaction. Buttons which are greyed out are unavailable actions in context and fully lit buttons are available actions in context. Each element function for the voice session is described in the table below and the session toolbar will vary across interaction types.

UvqNf0hpwQAAAABJRU5ErkJggg==

  • Launch – Displays the option to launch the Script, Info, Cust, Calltxt or Notes panels. Each of these is described in more detail below.
  • Script – Displays the associated queue script (if configured).
  • Info – Displays Contact Data associated with the current interaction.
  • Cust – Displays Customer Details associated with the current interaction and allows searching of the customer contact management system.
  • Calltxt – Displays the live call transcriptions when it’s enabled for the queue.
  • Notes – Displays the Contact Notes and allows agents to to manually enter a note or see an automatically generated summary when it’s enabled for the queue.
  • Outcome – Displays the Contact Outcomes associated with the current interaction.
  • Hold – Places the current voice interaction on hold.
  • Retrieve – Retrieves the current voice interaction after it has been placed on hold.
  • Conf – Opens the conference window to allow consultation and transfers of the current interaction.
  • Start – Opens the Directory window to commence an outbound call.
  • End – Ends the current voice interaction.
  • Next – Moves to the next interaction or state.
  • Rec – Start a manual call recording.
  • Stop – Stop the current call recording.
  • SMS / Apps – Opens the SMS function to send an adhoc SMS and Message App forms.
  • Dial – Commences a quick dial, number must be entered in the provided field.

Main Screen

The main screen area is used to display Contact Information, Contact Details and Contact Outcomes during the interaction. Using the CONF and SMS / APPS button will open additional panels within the space.


NMCyAQZQp8wAAAABJRU5ErkJggg==


How to set a sound notification for incoming contacts

Introduction

This article demonstrates the how to setup a sound notification for incoming voice contacts in the Contact Manager / Agent Desktop module of the Premier Contact Point platform.

Background

Users have configurable access to the Contact Manager module. This module is used to handle voice, email, webchat, SMS and instant message interactions.

The Contact Manager module is accessible via the Premier Contact Point home screen to authorised users.

When using a Accept / Requeue configuration, agents may want to configure a sound notification to alert them when they are being offered a contact.

image 2

How to set an audio notification for incoming voice contacts

Profile Menu

The Profile Menu is used to customise your user experience along with displaying other useful information to assist your session. By clicking on your Display Name, the profile menu will be displayed.

  1. Click on the Settings option found in your profile menu.
    w+eieeoIWNJTwAAAABJRU5ErkJggg==
  2. Navigate to the Sounds tab.
  3. Tick the ‘Enable‘ option for Voice, the use the drop-down menu to select the preferred Sound Notification and the drop-down menu to set the preferred number of repeats then click Save.
    D2EqffByWQMjAAAAAElFTkSuQmCC
The Sounds tab can also be used to set a Secondary audio notification device. Once set, an incoming contact will play the configured audio alert on both devices.


Where accounts are configured for other media types, additional sound notifications can be configured to alert incoming contacts.

How to wrap a call

Introduction

This article demonstrates how to wrap a call using the Agent Desktop / Contact Manager module in the Premier Contact Point platform.

Background

Users have configurable access to the Agent Desktop module. This module is used to handle voice, email, webchat, SMS and instant message interactions.

The Agent Desktop / Contact Manager module is accessible via the Premier Contact Point home screen to authorised users.

At the completion of an interaction agents are generally required to submit a Contact Outcome or Disposition from a preset list of choices.

image 2

How to wrap a call

  1. Once the interaction is completed the agent will be transition to the Wrap status. Select one of the available Contact Outcomes then click the Next button in the toolbar or the bottom of the Contact Outcomes panel.
If you don’t want to transition back to the Ready status when the Contact Outcome is submitted, set a Break, Aux or Disconnect reason while you are active on the call or in wrap status.

Once set, the agent status silhouette will alternate colour between blue and yellow.

Upon submitting the Contact Outcome, the agent will be transitioned to the selected status.


In some cases a Wrap Timeout may be used against a queue.

Wrap Timeout uses a preset amount of time in which the agent can submit a Contact Outcome. If at the completion of the Wrap Timeout period a Contact Outcome has not been submitted, the system will automatically transition the agent back to the Ready status.

If Wrap Timeout is being used, the remaining time will count down on the State Time located next to the agent status in the toolbar.


How to make an outbound call

Introduction

This article demonstrates how to make an outbound call using the Agent Desktop module in the Premier Contact Point platform.

Background

Users have configurable access to the Agent Desktop module. This module is used to handle voice, email, webchat, SMS and instant message interactions.

The Agent Desktop module is accessible via the Premier Contact Point home screen to authorised users.

Whilst logged into the agent desktop agents may need to make outbound calls.
Pasted 6


How to make an outbound call

  1. Click the START button in the toolbar, this will load the Directory panel.
    Pasted 6
  2. Select from one of the available outbound call options, then click the Call button
    • Agents tab – a list of other users logged into Premier Contact Point available for an agent to agent call
    • Queue tab – a list of queues (this option is not available to use when making an outbound call)
    • Internal tab – a list of Teams contacts or Internal phone book entries
    • External tab – a list of Teams contacts of External phone book entries
    • Destination – used to enter any 10 digit number or search for matching entries within the selected tab.
      Pasted 5

The selected entry will start dialling, once the call is connected agents can use available call controls to complete the interaction.

Once the START button has been clicked, the agent status will change to Dialling. While in Dialling status agents will not be offered inbound calls.

To cancel an outbound call before dialling, click the X in the Directory panel.


How to transfer a call

Introduction

This article demonstrates how to transfer a customer to a third party using the Agent Desktop module in the Premier Contact Point platform.

Background

Users have configurable access to the Agent Desktop module. This module is used to handle voice, email, webchat, SMS and instant message interactions.

The Agent Desktop module is accessible via the Premier Contact Point home screen to authorised users.

Whilst logged into the agent desktop handling a voice interaction, agents may need to transfer a call to a third party.
Pasted 6


How to transfer a call

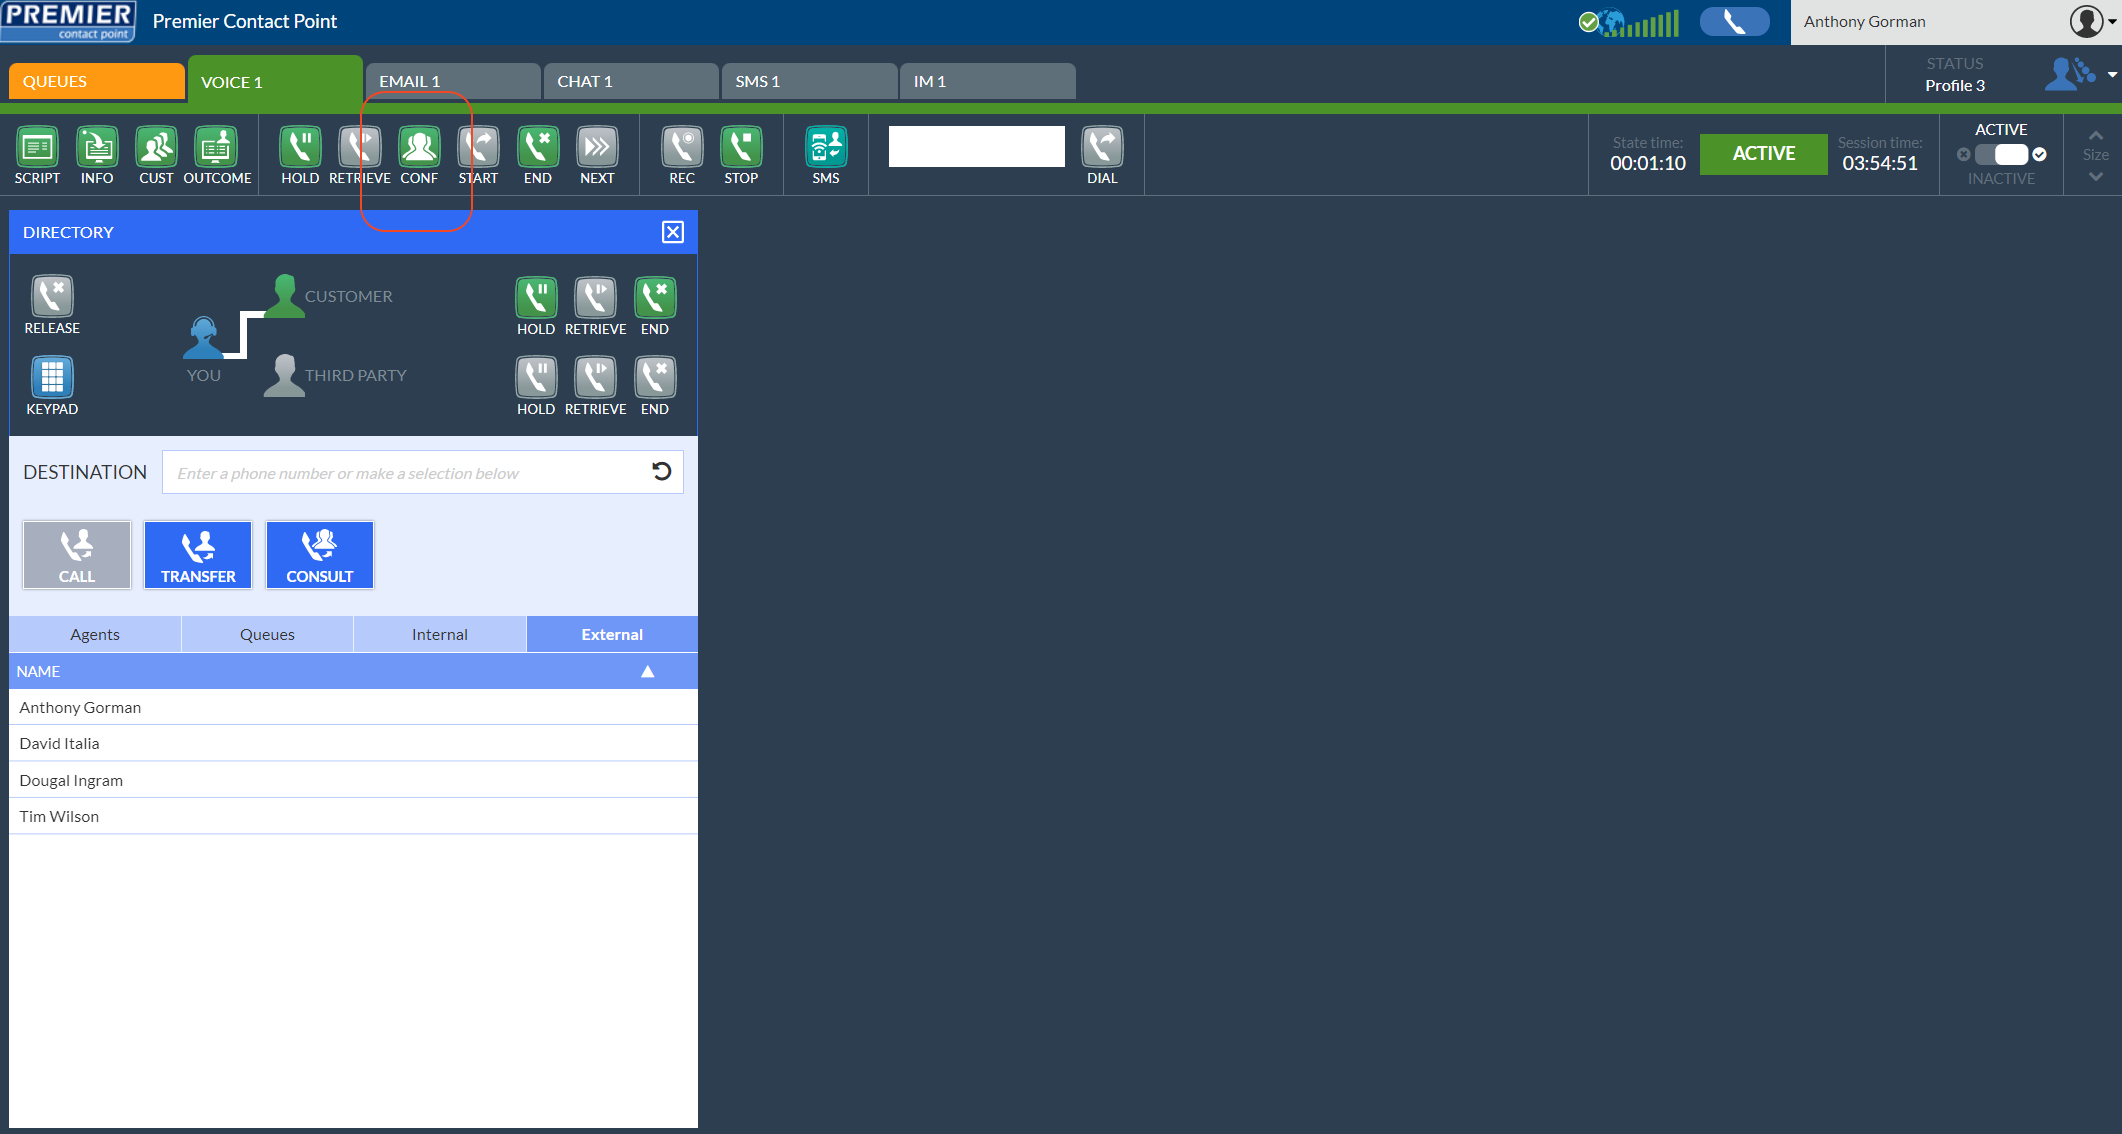
  1. With a voice interaction in progress click CONF button in the toolbar, this will load the Directory panel.
    Pasted
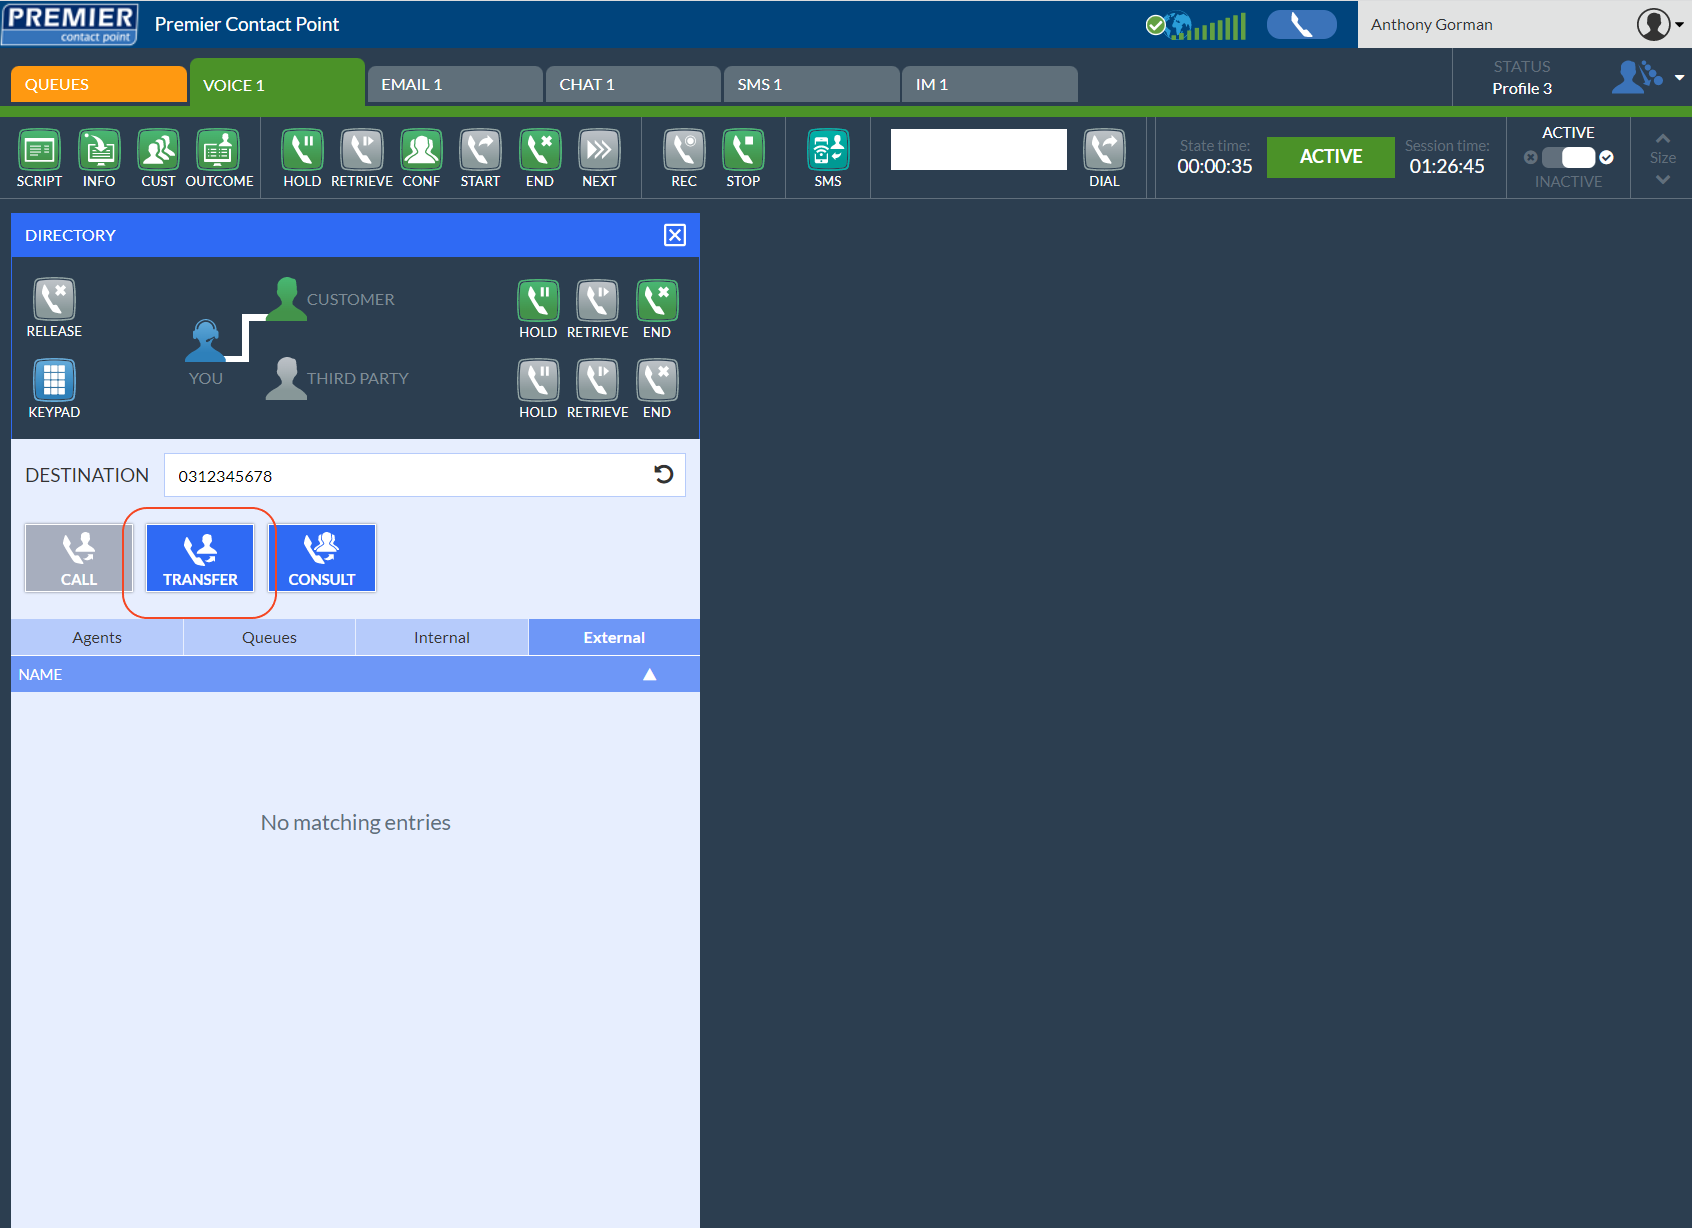
  2. Select from one of the available transfer options, then click the Transfer button
    • Agents tab – a list of other users logged into Premier Contact Point
    • Queue tab – a list of queues
    • Internal tab – a list of Teams contacts or Internal phone book entries
    • External tab – a list of Teams contacts of External phone book entries
    • Destination – used to enter any 10 digit number or search for matching entries within the selected tab.
      Pasted 5
As soon as the Transfer button has been clicked, the customer will be transferred to the third party. The agent will be moved to the Wrap status and will have no ability to retrieve the customer if the third party is unavailable.

If the agent needs to retain control of the customer call and make sure the third party is available, the Consult option should be used instead.


How to make a consult call

Introduction

This article demonstrates how to make a consult call (and warm transfer the caller to the third party if required) using the Agent Desktop module in the Premier Contact Point platform.

Background

Users have configurable access to the Contact Manager / Agent Desktop module. This module is used to handle voice, email, webchat, SMS and instant message interactions.

The Contact Manager / Agent Desktop module is accessible via the Premier Contact Point home screen to authorised users.

Whilst logged into the Contact Manager / Agent Desktop handling a voice interaction, agents may need to consult with another user or third party for assistance or to assess the availability of that party to transfer the caller to them. After making a consult call, the agent may choose to end the consult or transfer the caller to the third party.

image 2


How to make a consult call

  1. With a voice interaction in progress click CONF button in the toolbar, this will load the Directory panel.
    qA4BAAAAABARPwfUGtTFCQ7QnQAAAAASUVORK5CYII=
  2. Select from one of the available consult options, then click the Consult button
    • Agents tab – a list of other users logged into Premier Contact Point
    • Queue tab – a list of queues
    • Internal tab – a list of Teams contacts or Internal phone book entries
    • External tab – a list of Teams contacts of External phone book entries
    • Destination – used to enter any 10 digit number or search for matching entries within the selected tab.
  3. Once the third party call is connected, use the independent call control to hold, retrieve or end the call. The customer is automatically placed on hold.

Once a consult call is in progress, agents may want to transfer the call to the third party.

How to warm transfer a customer to the third party from the Consult state

  1. With the consult call in progress, click the RETRIEVE button on the Customer line, this will turn the call into a Conference, allowing the agent to introduce the third party. (Retrieving the customer and turning the call into a Conference is optional, if a warm transfer or introduction is not required, go to step 2).
    YJUcrFaiPEAAAAABJRU5ErkJggg==
  2. Click the RELEASE button. The customer and third party will remain connected (or be connected if a warm transfer is not being completed) while the agent will be taken to the Wrap status.
    bDNOvWun7PkAAAAASUVORK5CYII=